Program Menu
The program menu allows you to configure the client GUI itself as well as the network monitoring and reporting process; to print HTML reports, register the product, and to access local help pages and online resources.
The program menu contains five standard items: File, Edit, Tools, Alerting, and Help.
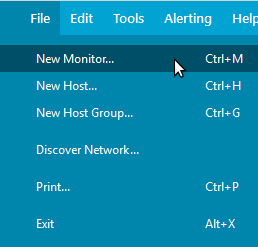
The following actions are available from the File menu item:
- New Monitor – opens a wizard that allows you to create a new monitor. The shortcut for creating a new monitor is Ctrl+M.
-
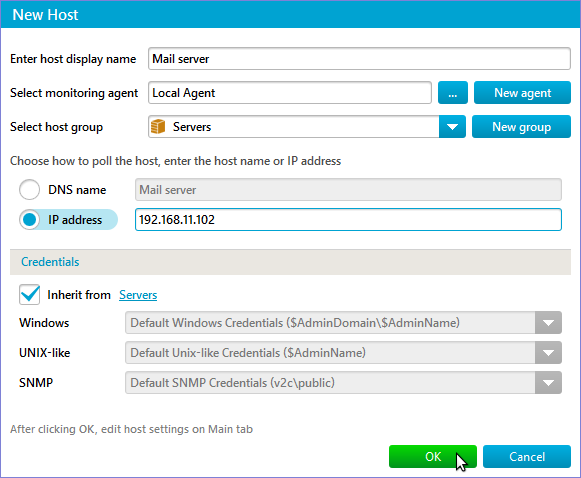
New Host – allows you to create a new host. When you create a new host, this dialog allows you to choose a host group and to define how to poll (access) the host – either using a DNS host name (you need to enter the host name) or its IP address (you need to enter the IP address). Also, you can modify user credentials that will be used to access new host resources that require authentication and authorization. If a host group, host or monitor is selected in Main view, the dialog will automatically choose the selected item’s host group for the new host, but you can always change it. The shortcut for creating a new host is Ctrl+H.
-
New Host Group – allows you to create a new host group. At a minimum, you should enter a new group name.
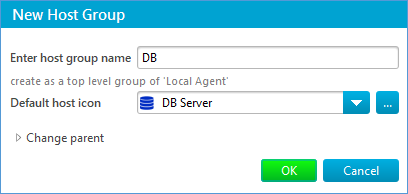

By default, parent node for the new host group is selected based on cursor position in a tree in the main window. You can select another parent host group (if you would like to create a nested group) or agent (when creating a top level group). To do this, expand the bottommost part of the dialog and select new parent node. A hint below the group name changes in accordance.
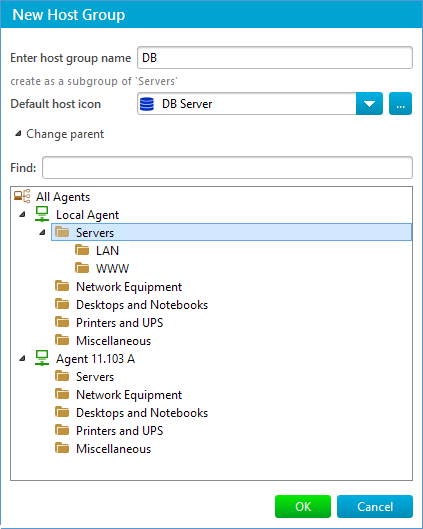
The shortcut for creating a new host group is Ctrl+G.
Note: once you have defined a host group, host or monitor and pressed OK, it is added to the system and its default settings are initialized. In case the default settings are not sufficient (for example, you need to check a particular HTTP URL on the server or need custom alerts for this monitor), you should go to the Main parameters Tab and correct the settings there.
-
Discover Network – displays the Discovery Wizard. The network discovery process is described here.
-
Print – displays a standard Print dialog that allows you to print a current report from the Report View panel. The shortcut for printing is Ctrl+P.
-
Exit – closes the client. The shortcut for exiting is Alt+X.


This section contains the following items: Undo, Redo, Copy, Move, Rename, Delete, Find, and Filter. You can only copy, rename and delete hosts and monitors. If anything else is selected in the Tree View, the Copy, Rename, and Delete items become disabled. Likewise, you can only move hosts and host groups.
-
Undo and Redo – allow you to cancel previous actions.
-
Copy – creates a copy of a current host, or selected applications and monitors.
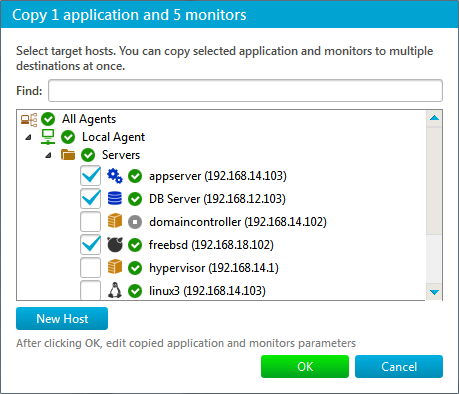
If you copy an entire host, then you need to select a host group for the copied host, and a poll method to access it – using an IP address or a DNS name, and enter this address or name. The host Copy dialog is similar to the New Host dialog. A host is copied with all its monitors, and all of them are initially stopped. Dependencies and alerts are copied, too.
If you copy a monitor(s) to a host you can select an application on the target host, so that the monitor(s) will be added into the application. By default, a monitor is copied to the host directly.
If a monitor is copied into an application, it will be listed on the application Main tab in ‘Application template monitors’ table and marked as ‘From User’.
If you copy an application to a host you can’t select an application on the target host, as the application can only be copied to the host directly.
You can create a new host to copy the selected items to this new host using New Host button.
-
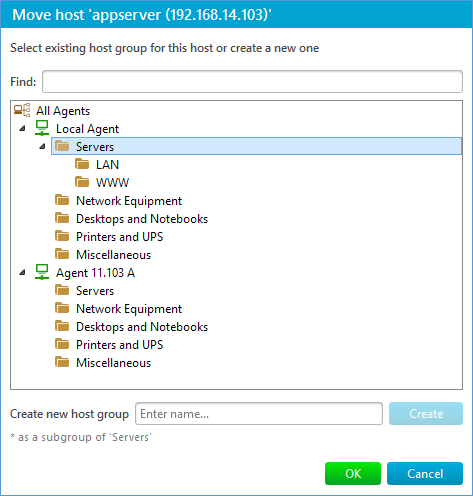
Move – relocates a host or host group in a tree. Same action is available in a Main tab for these object types. A dialog that opens allows you to select new parent object for this host / host group:
-
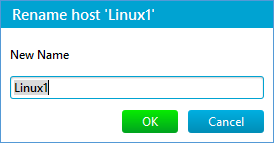
Rename – allows you to rename a host group, host or monitor. A dialog with the old name appears and you need to type in a new name. In case the new host group / host name is not unique across the system or the new monitor name is not unique in its parent host’s monitor list, an error message will be displayed and the renaming won’t take effect.
-
Change icon – allows you to change a default icon for the hosts in the host group or an icon for the host. You can choose any for the list or add your own and then find it in “Custom” category.
Note: if custom icon is invalid or becomes unavailable it will be temporarily reverted to the group’s default until replaced or restored to normal. -
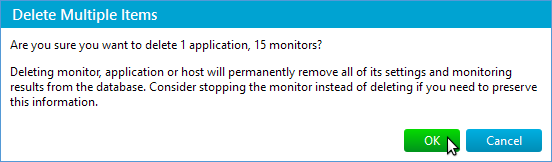
Delete – allows you to delete a host group, host or monitor. A confirmation dialog is displayed. You cannot delete a pre-defined host group (Servers, Network Equipment, Desktops and Notebooks, Printers and UPS, and Miscellaneous). When you delete a custom host group that contains one or more hosts, a confirmation dialog appears. When you delete a host, all its monitors will be deleted, too.
This operation permanently removes all relevant information (both configuration data and monitoring results) from the database, so it should be used with care. If you just want to avoid polling a particular monitor(s) or all monitors on some host, you can stop them instead of deleting.
-
Find – sets the focus to the search string in a Tree View, that allows to find hosts and monitors by name. The shortcut for this action is Ctrl+F.
-
Filter – displays the Monitor State Filter window, that allows to show or hiding monitors in a particular state in a Tree View. The shortcut for this action is Ctrl+R.


![]()
![]()
-
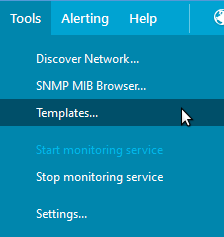
Discover Network – displays the Discovery Wizard. The network discovery process is described here.
-
SNMP MIB Browser – launches the SNMP MIB Browser described here. The following configuration window appears when you select this menu item; it allows you to use the settings of a particular SNMP monitor or the SNMP SET action when launching the browser, as well as specifying custom settings.
If you are not sure which SNMP version should be used to connect to the host, click Try multiple versions link and check several versions that SNMP Browser will try to use for connection.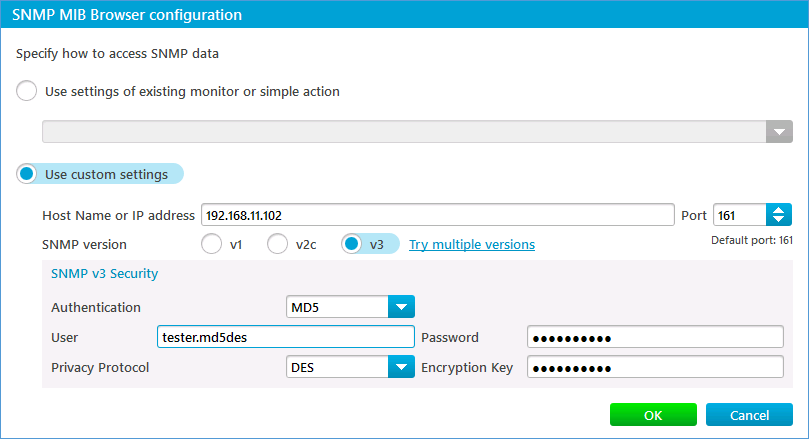
-
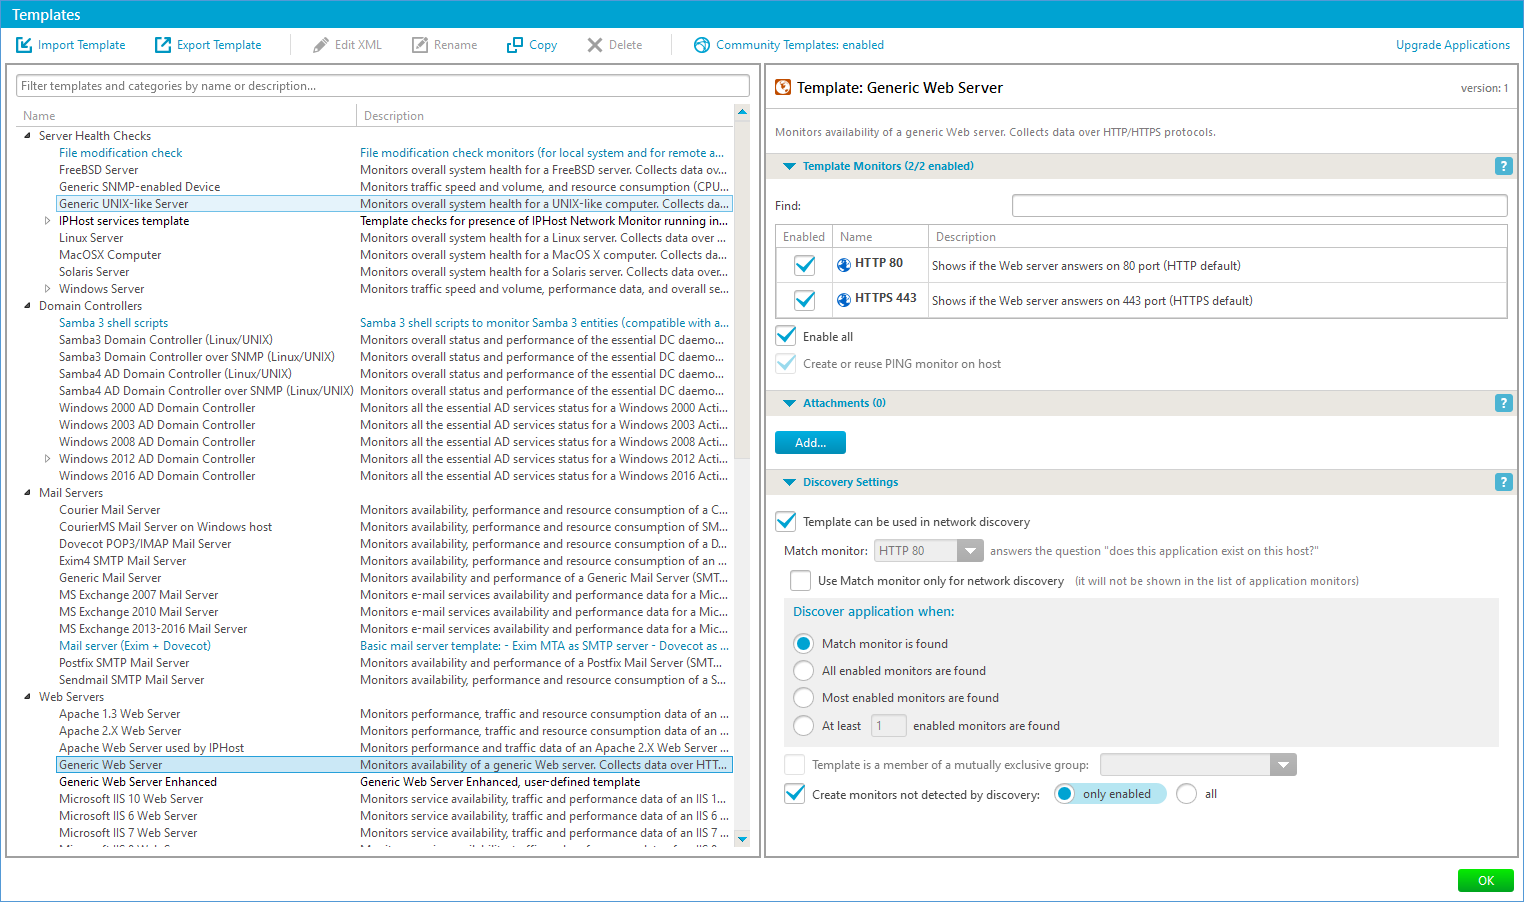
Templates… – launches the Templates Dialog described here. The dialog allows you to view, copy, rename or modify the existing templates and export them in XML format, to import a template from an XML document.
-
Start Monitoring Service – starts the monitoring service described in the Software Components section. It is the service that actually performs data collection (polls resources).
-
Stop Monitoring Service – allows you to stop the monitoring service, thus ceasing all monitoring activities.
-
Settings – shows the Settings dialog. The dialog displays administrator account settings, system settings such as application paths and port numbers, global lists of reusable alerts, the global maintenance table, various monitoring and reporting settings, and discovery parameters and allows you to change them.
This menu section provides access to various utilities. Its items are described below.


-
Alerts – this is a shortcut to the Alerts global settings section.
-
Alerting rules – this is a shortcut to the Alerting rules global settings section.
-
Enable Alerting – Enables or disables alerting. For more information see section Disable alerting

This menu section provides access to alerting settings.
See the section Alerting and Actions for more information about defining IPHost Network Monitor response to state changes.
-
Help topics – displays this help file. F1 is a standard hotkey.
-
The Tip of The Day – displays the Tip of The Day window. You can navigate tips in both directions and tell the client application whether the tips should be shown on the next client run or not using the checkbox near the bottom of the Tip of The Day window.
-
Contact support – opens a support form on the IPHost Network Monitor Web site where you can submit bug reports, questions and requests. Make sure you are connected to the Internet.
-
How to buy… – opens an order page on the IPHost Network Monitor Web site where detailed purchasing instructions are provided.
-
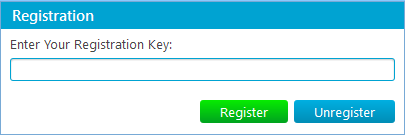
Enter your registration key… – opens a registration form where you can enter the registration key that will be e-mailed to you after purchasing IPHost Network Monitor. This menu item allows you to register the product, to upgrade your license when you purchase additional features and to renew your maintenance and support when you prolong the license.
-
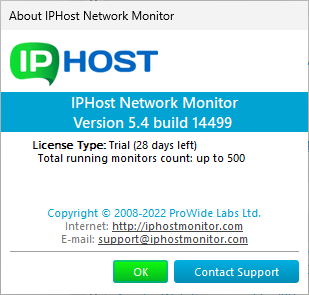
About IPHost Network Monitor – displays the standard About dialog. The dialog contains essential information (the product version and build number) that you will need to fill an online support form or to send e-mail messages to support@iphostmonitor.com. This information will help us provide you with prompt and proper support. The dialog also shows the features allowed by your license and the maintenance expiration date. For a trial version the dialog displays the number of days left till the trial period expires.
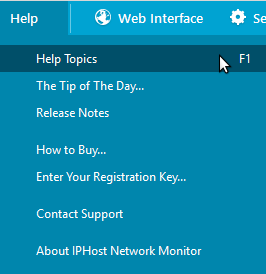
This item provides access to the local help file, the Tip of The Day window, online support form, purchasing instructions, registration form, and the About box.
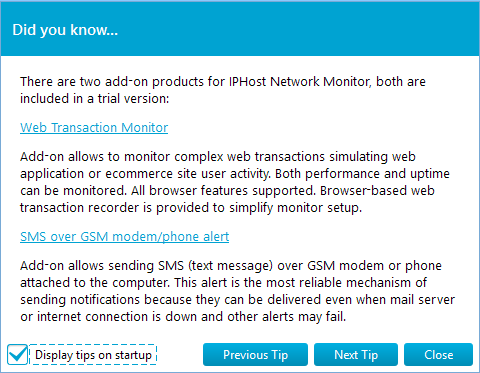
The hyperlinks in the Tip of the Day window usually open matching sections in the help file you are reading.